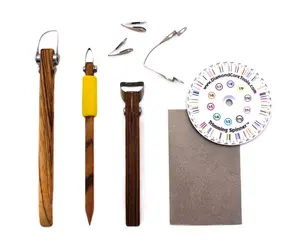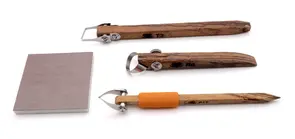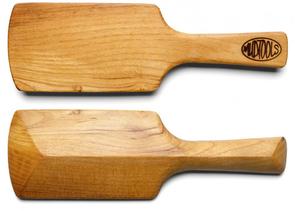
Description
If any of the blades on your Bird of Paradise Pottery Multi-Tool or folding blade tools become bent or broken, there's no need to deal with that loss or throw a tool away. Simply replace the broken blade with an economical, replacement insert.
Note: While it is possible to replace your folding-tool blade without our Blade Jig, it is highly recommended to help align and secure the new blade to your handle. Add the jig to your cart as a separate item.
DESCRIPTION
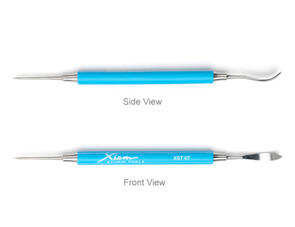
- MTP-2: Coated, stainless-steel precision blade replacement inserts (2 pcs.) for pottery multi-tool
- MTK-1: Coated, stainless-steel pottery knife replacement blade (45 mm; 1.7 in.)
- MTN-1: Coated, stainless-steel needle tool replacement blade (55 mm; 2.1 in.)
- MTS-1: Coated, stainless-steel scoring tool replacement blade (20 mm; 0.8 in.)
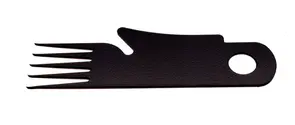
- BLADE JIG 1: Plastic jig with removable pegs to help align parts during blade replacement (67 mm X 32 mm X 10 mm; 2.6 in. X 1.25 in. X 0.4 in.)
USES/BENEFITS
- Easily cut and score leather-hard clay
- Stainless-steel blades never dull and leave little to no burrs or debris
- Sharp blades increases efficiency and reduces fatigue
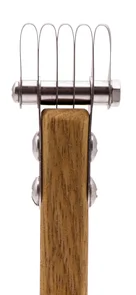
HOW TO REPLACE YOUR POTTERY MULTI-TOOL PRECISION BLADE
- Loosen and remove the thumb screw
- Separate the Mini-Wrench and barrel from the multi-tool handle
- Remove the damaged precision blade
- Insert curved end of replacement precision blade into the handle first so that the tab fits with the notch on the top of the handle
- Insert the barrel through the mini-wrench
- Use barrel to align wrench and precision blade with hole on multi-tool handle
- Twist thumb screw into barrel end to tighten all parts
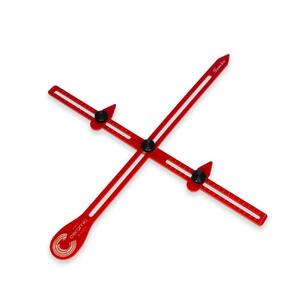
HOW TO REPLACE YOUR FOLDING TOOL BLADE WITH THE JIG
- Unscrew the thumb screw on your single tool to remove the screw and bolt.
- Gently remove the blade and washers on either side of it.
- Hold the jig with the text facing you (diamond cutout on the right side, called Side 1).
- Place the blade into the top slot, with the small stop tab on the right.
- From the left, slide the open edge of the wood handle around the jig’s top channel, engraved side facing you, upside down from you (nose down).
- Insert the two washers on either side of the blade and between the blade and handle.
- Remove one of the alignment pegs from their storage space and push the peg from Side 1 half way through the circular opening of all components in the jig’s top channel.
- Using the end of the rivet barrel, push the peg from Side 1 completely through the hole, thus pushing the barrel through all the components.
- From Side 2, twist the thumb screw into barrel end, securing all pieces together.
- Lift entire tool upward off the jig. Rivet barrel should be on side of tool with engraving, thumb screw on side with no engraving. Tighten thumb screw as needed.
DiamondCore Needle Tool Replacement Blade Reviews
There are not yet any reviews on this product.